After a long digital design and modelling process I was delighted to finally have all the component parts in hand and ready to assemble. In the interest of working uninterrupted, I chose to carry out the construction at home rather than in the lab. Hence the dining table, and occasional clutter you’ll see in these images.
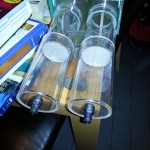
Due to the late design changes after the computational fluid dynamic modelling of the previous iteration I had enough acrylic sheet to build 2 main flight chambers rather than one. Since the build this has proven fortuitous as it means I can carry out twice as many behavioural assays at the same time. This is particularly important as my study mosquitoes require overnight assays which makes time a real limiting factor.
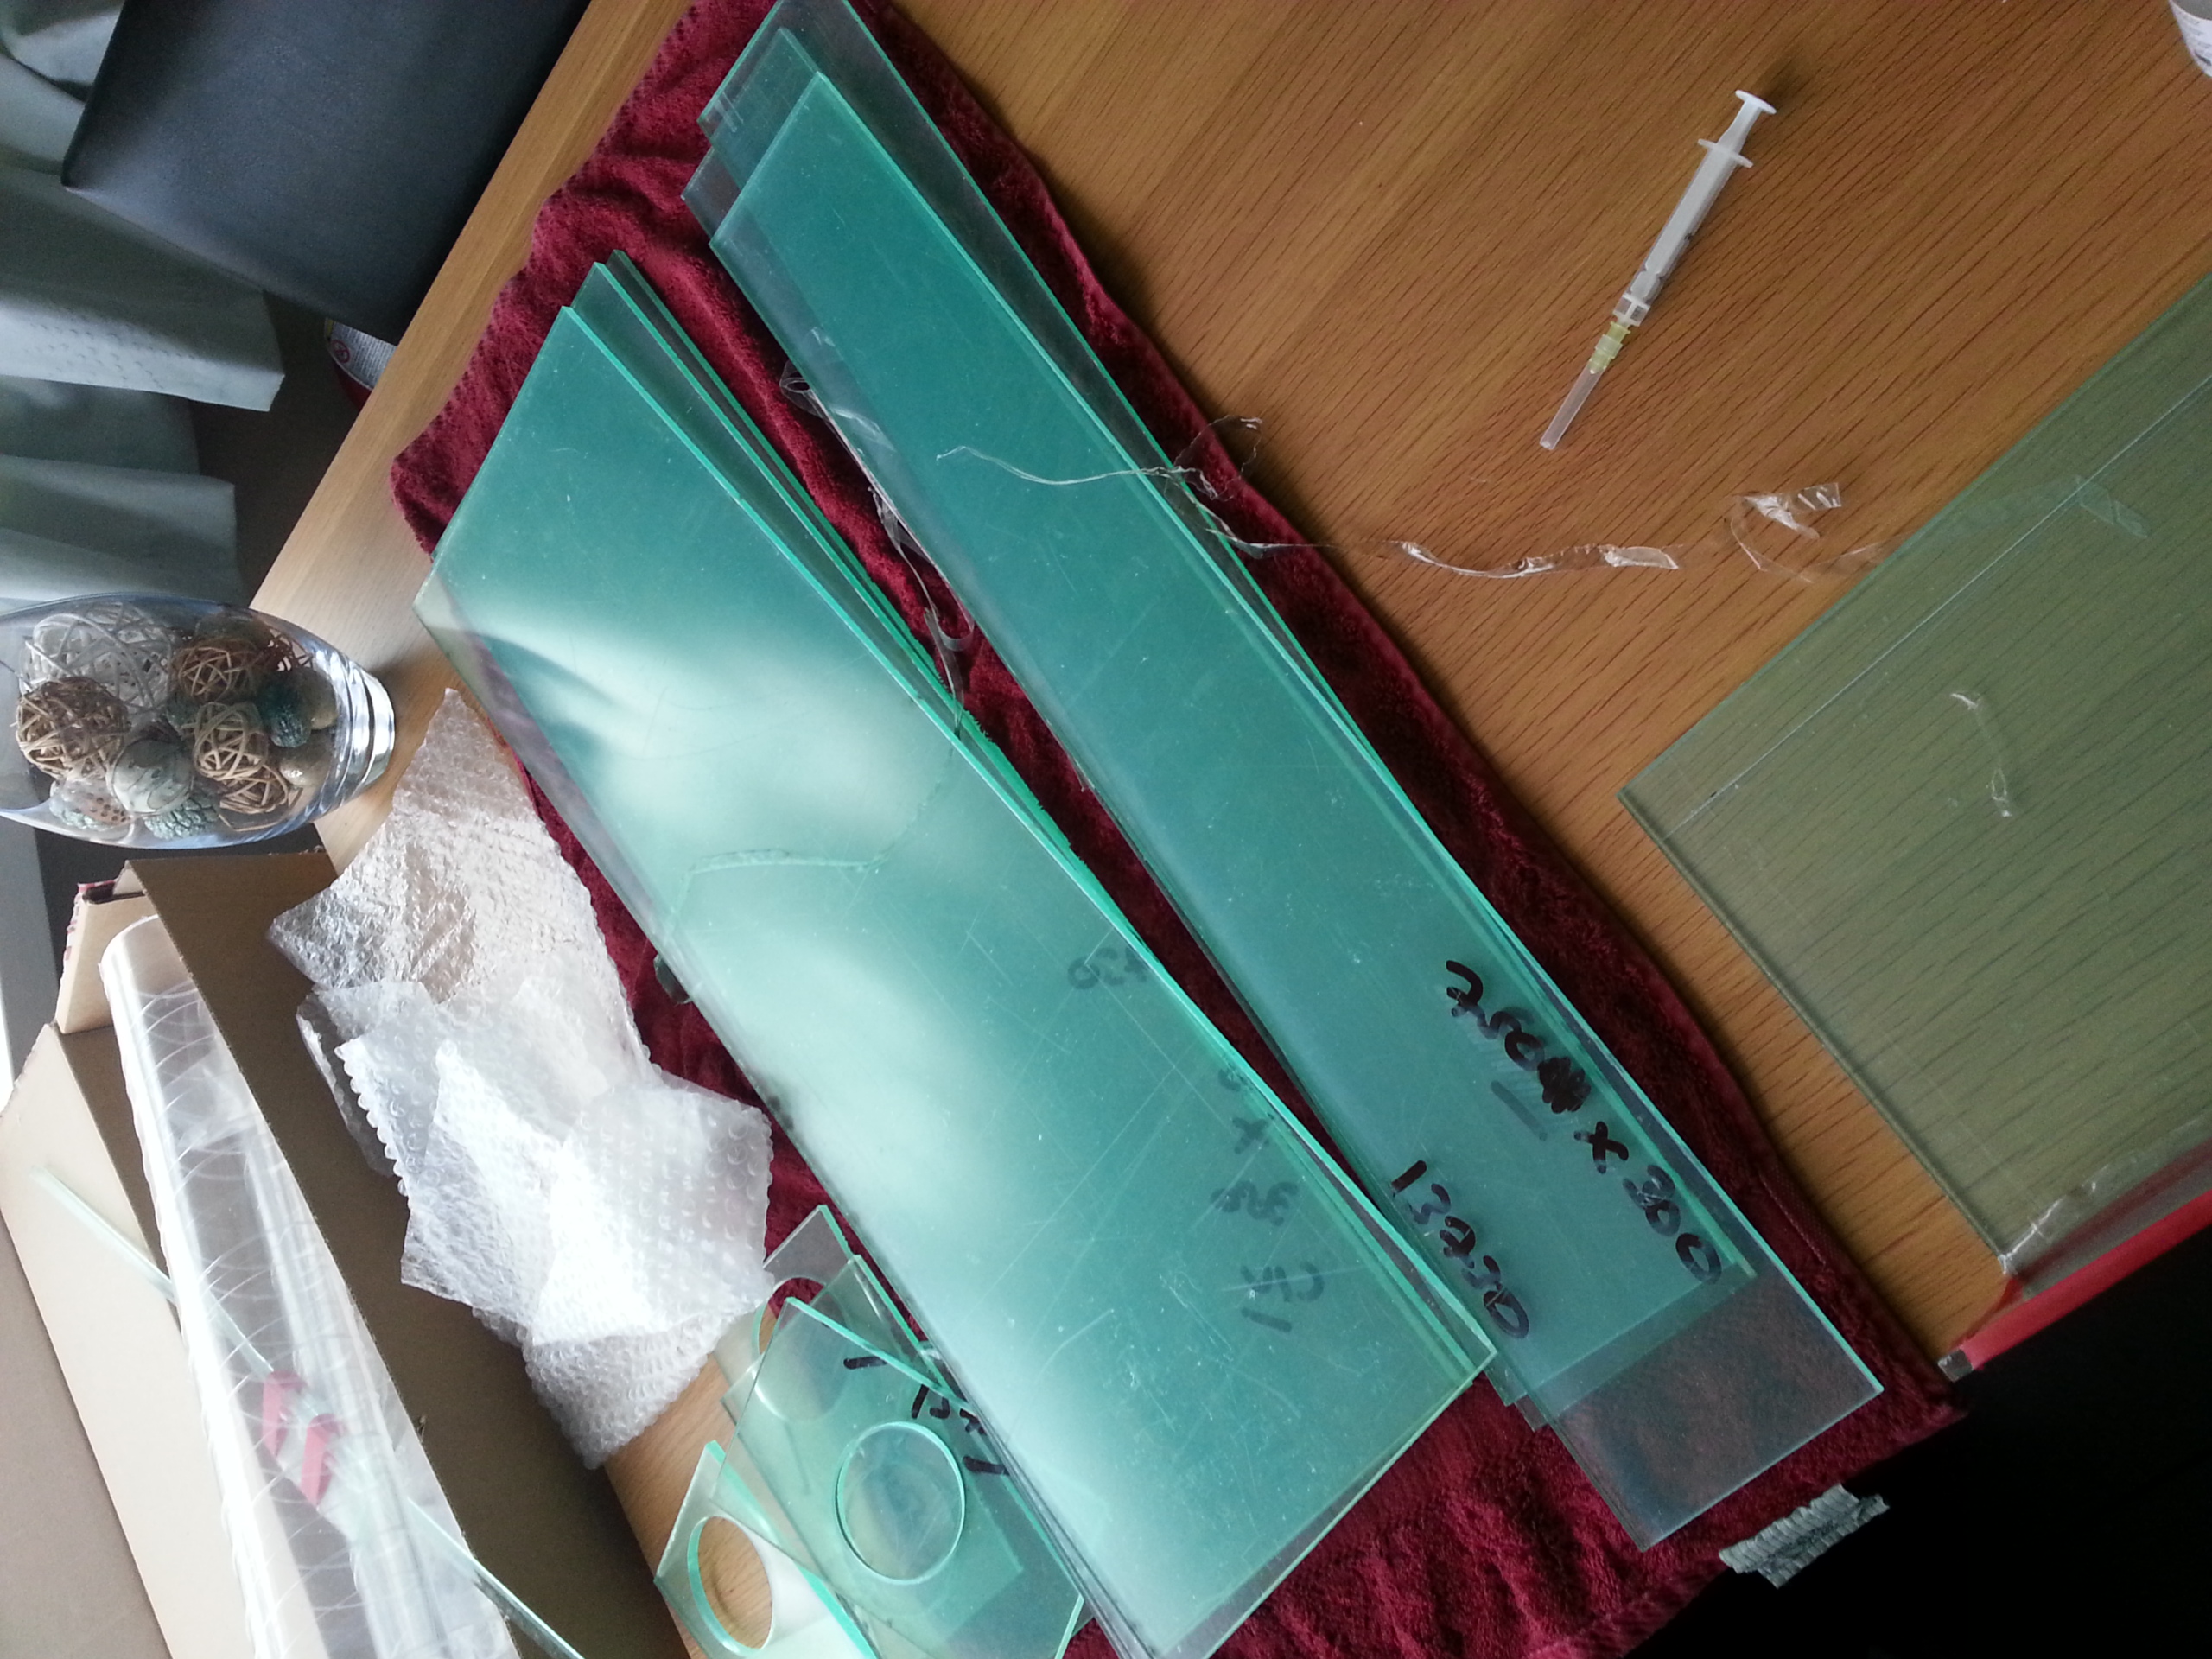
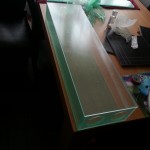
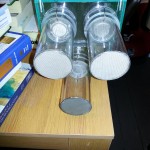
If you could buy a flat-pack dual choice olfactometer this is what it might look like. (N.B. the syringe is for applying the acrylic cement)
Acrylic is quite nice to work with as the “glue” is very watery and so provide you can get a tight bond between surfaces you can apply the glue in one place and allow capillary action to draw it in and fill the void.
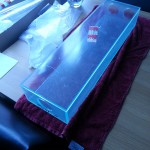
Insulating tape was used to hold the pieces in place whilst the glue was applied and set. Because
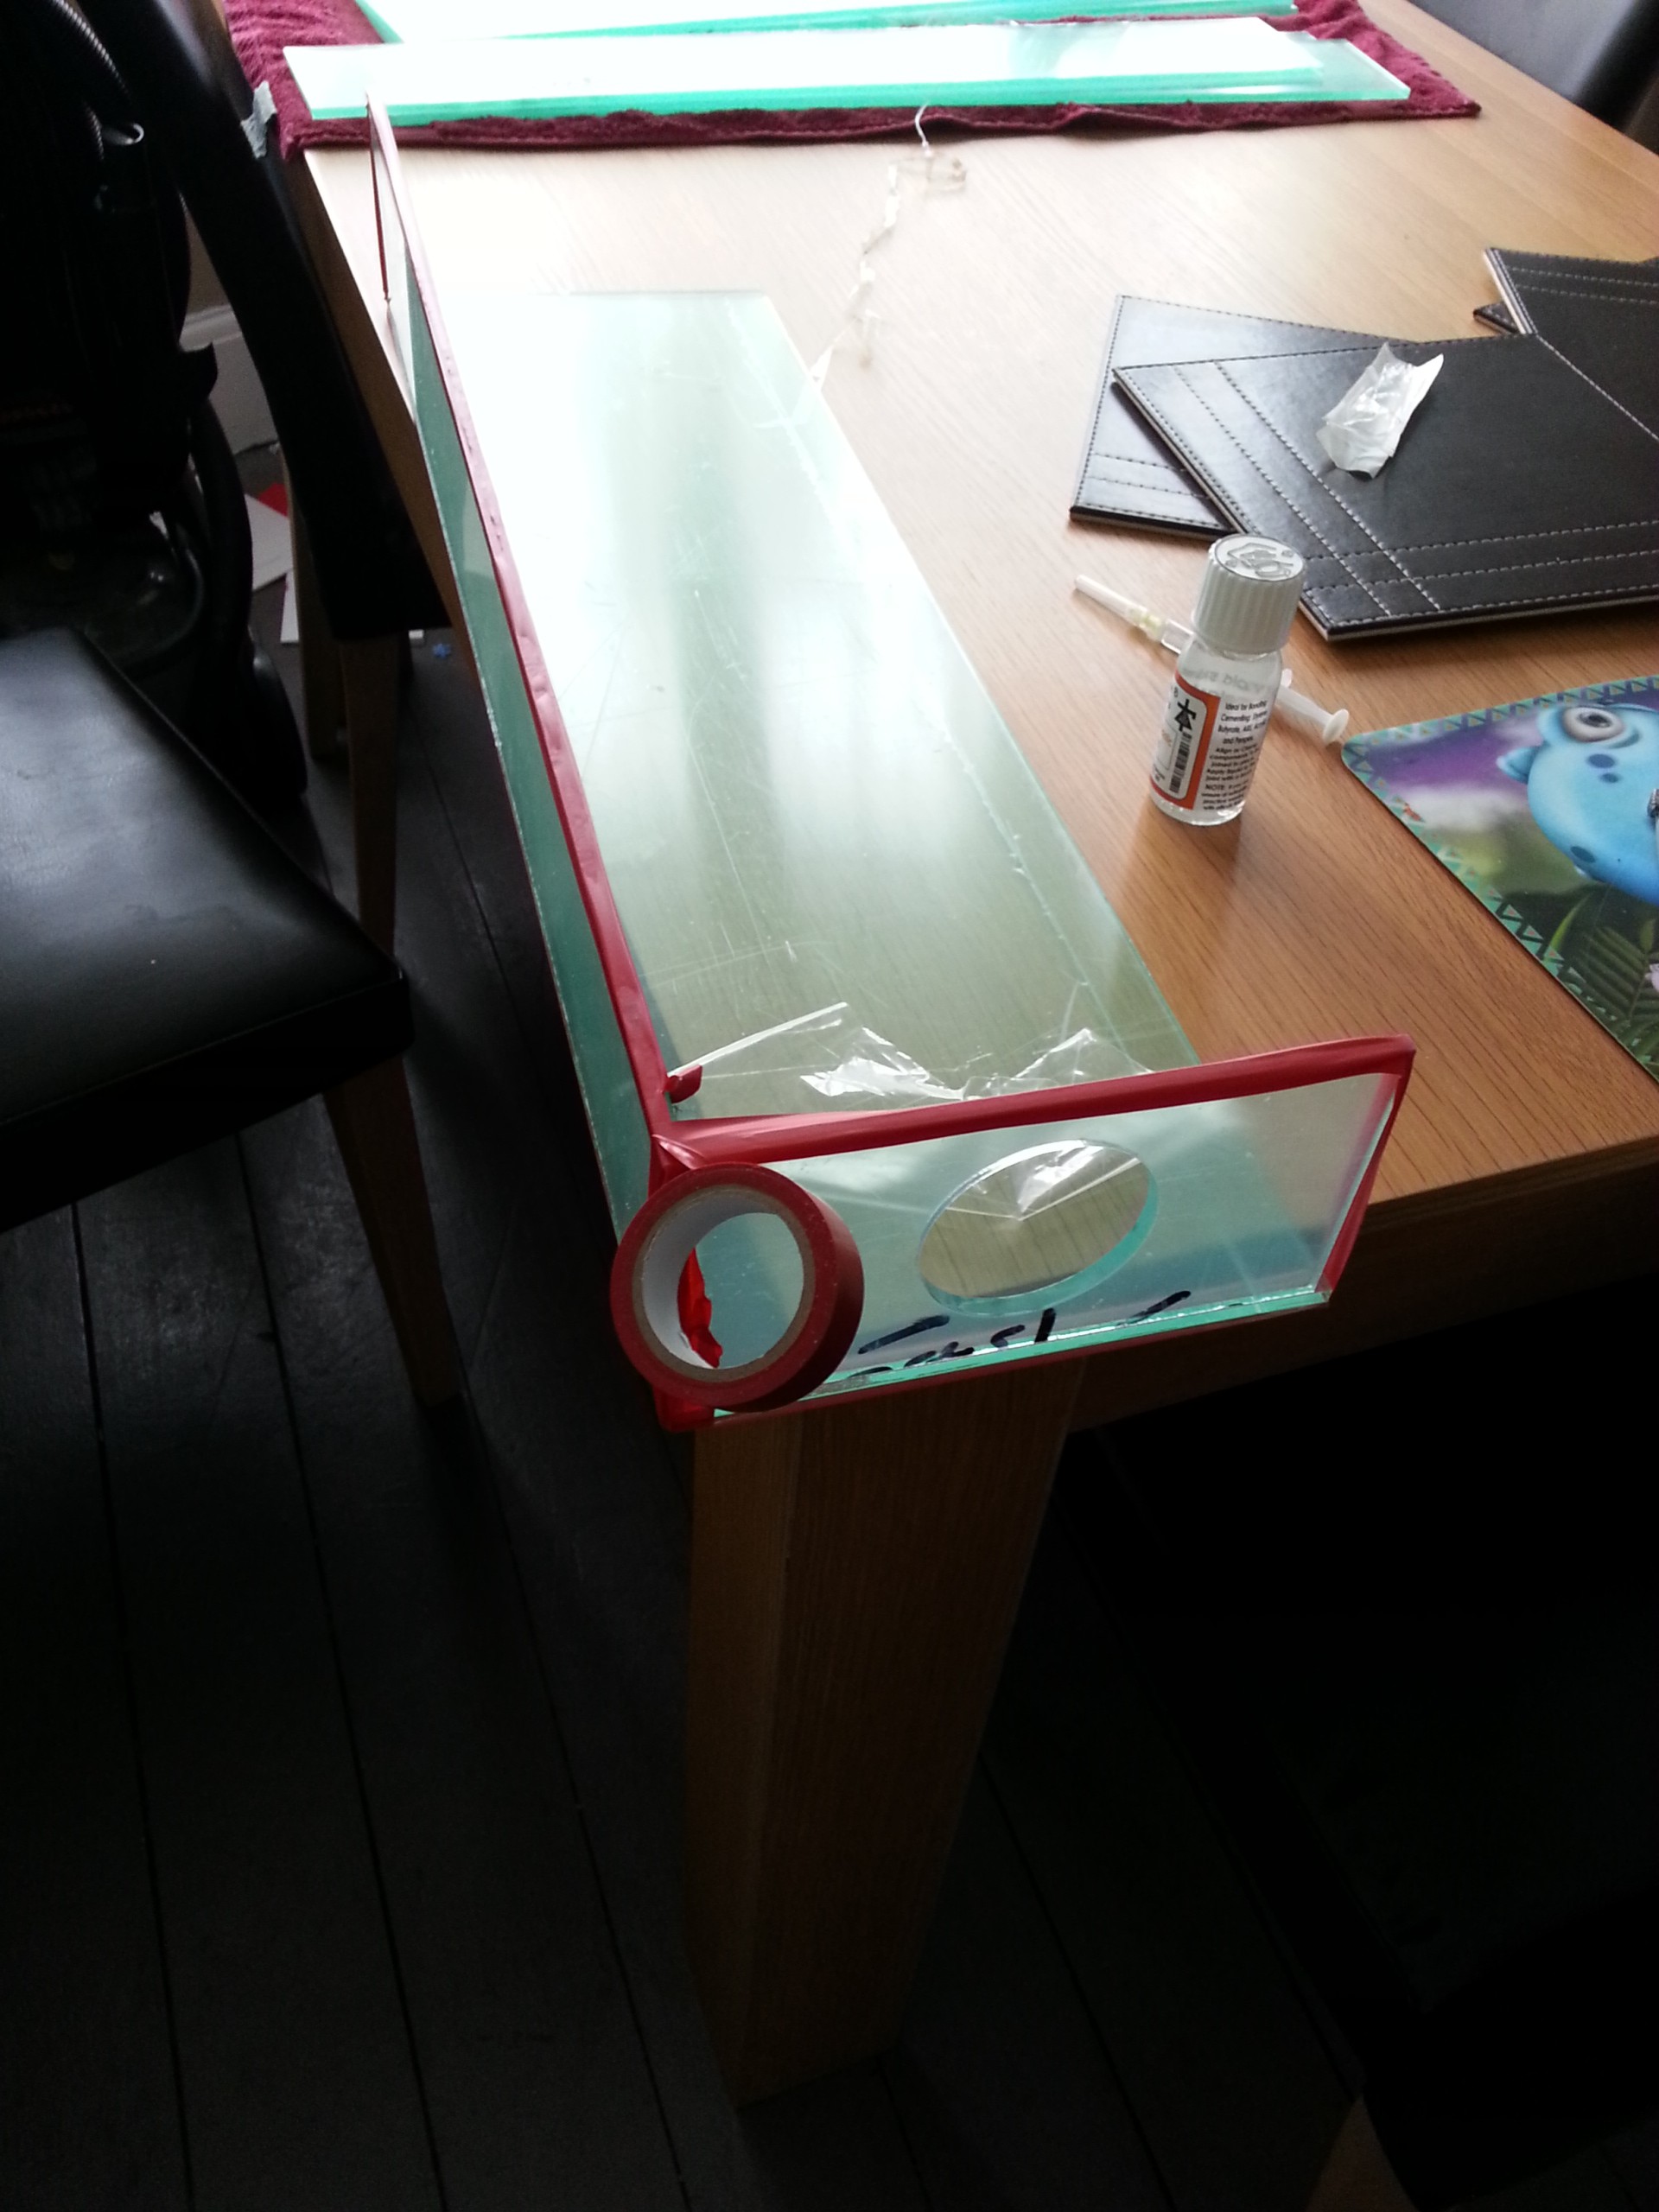
Insulating tape is slightly elastic it is great for this as it can be pulled very tight and allowed to relax again; once relaxed the acrylic sheet is held securely but not deformed.
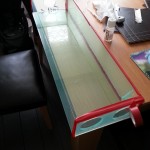
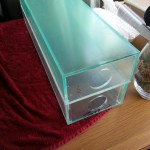
Also, because the edges were very nearly square, after the laser cutting, forming the box was easier than I feared it might be.
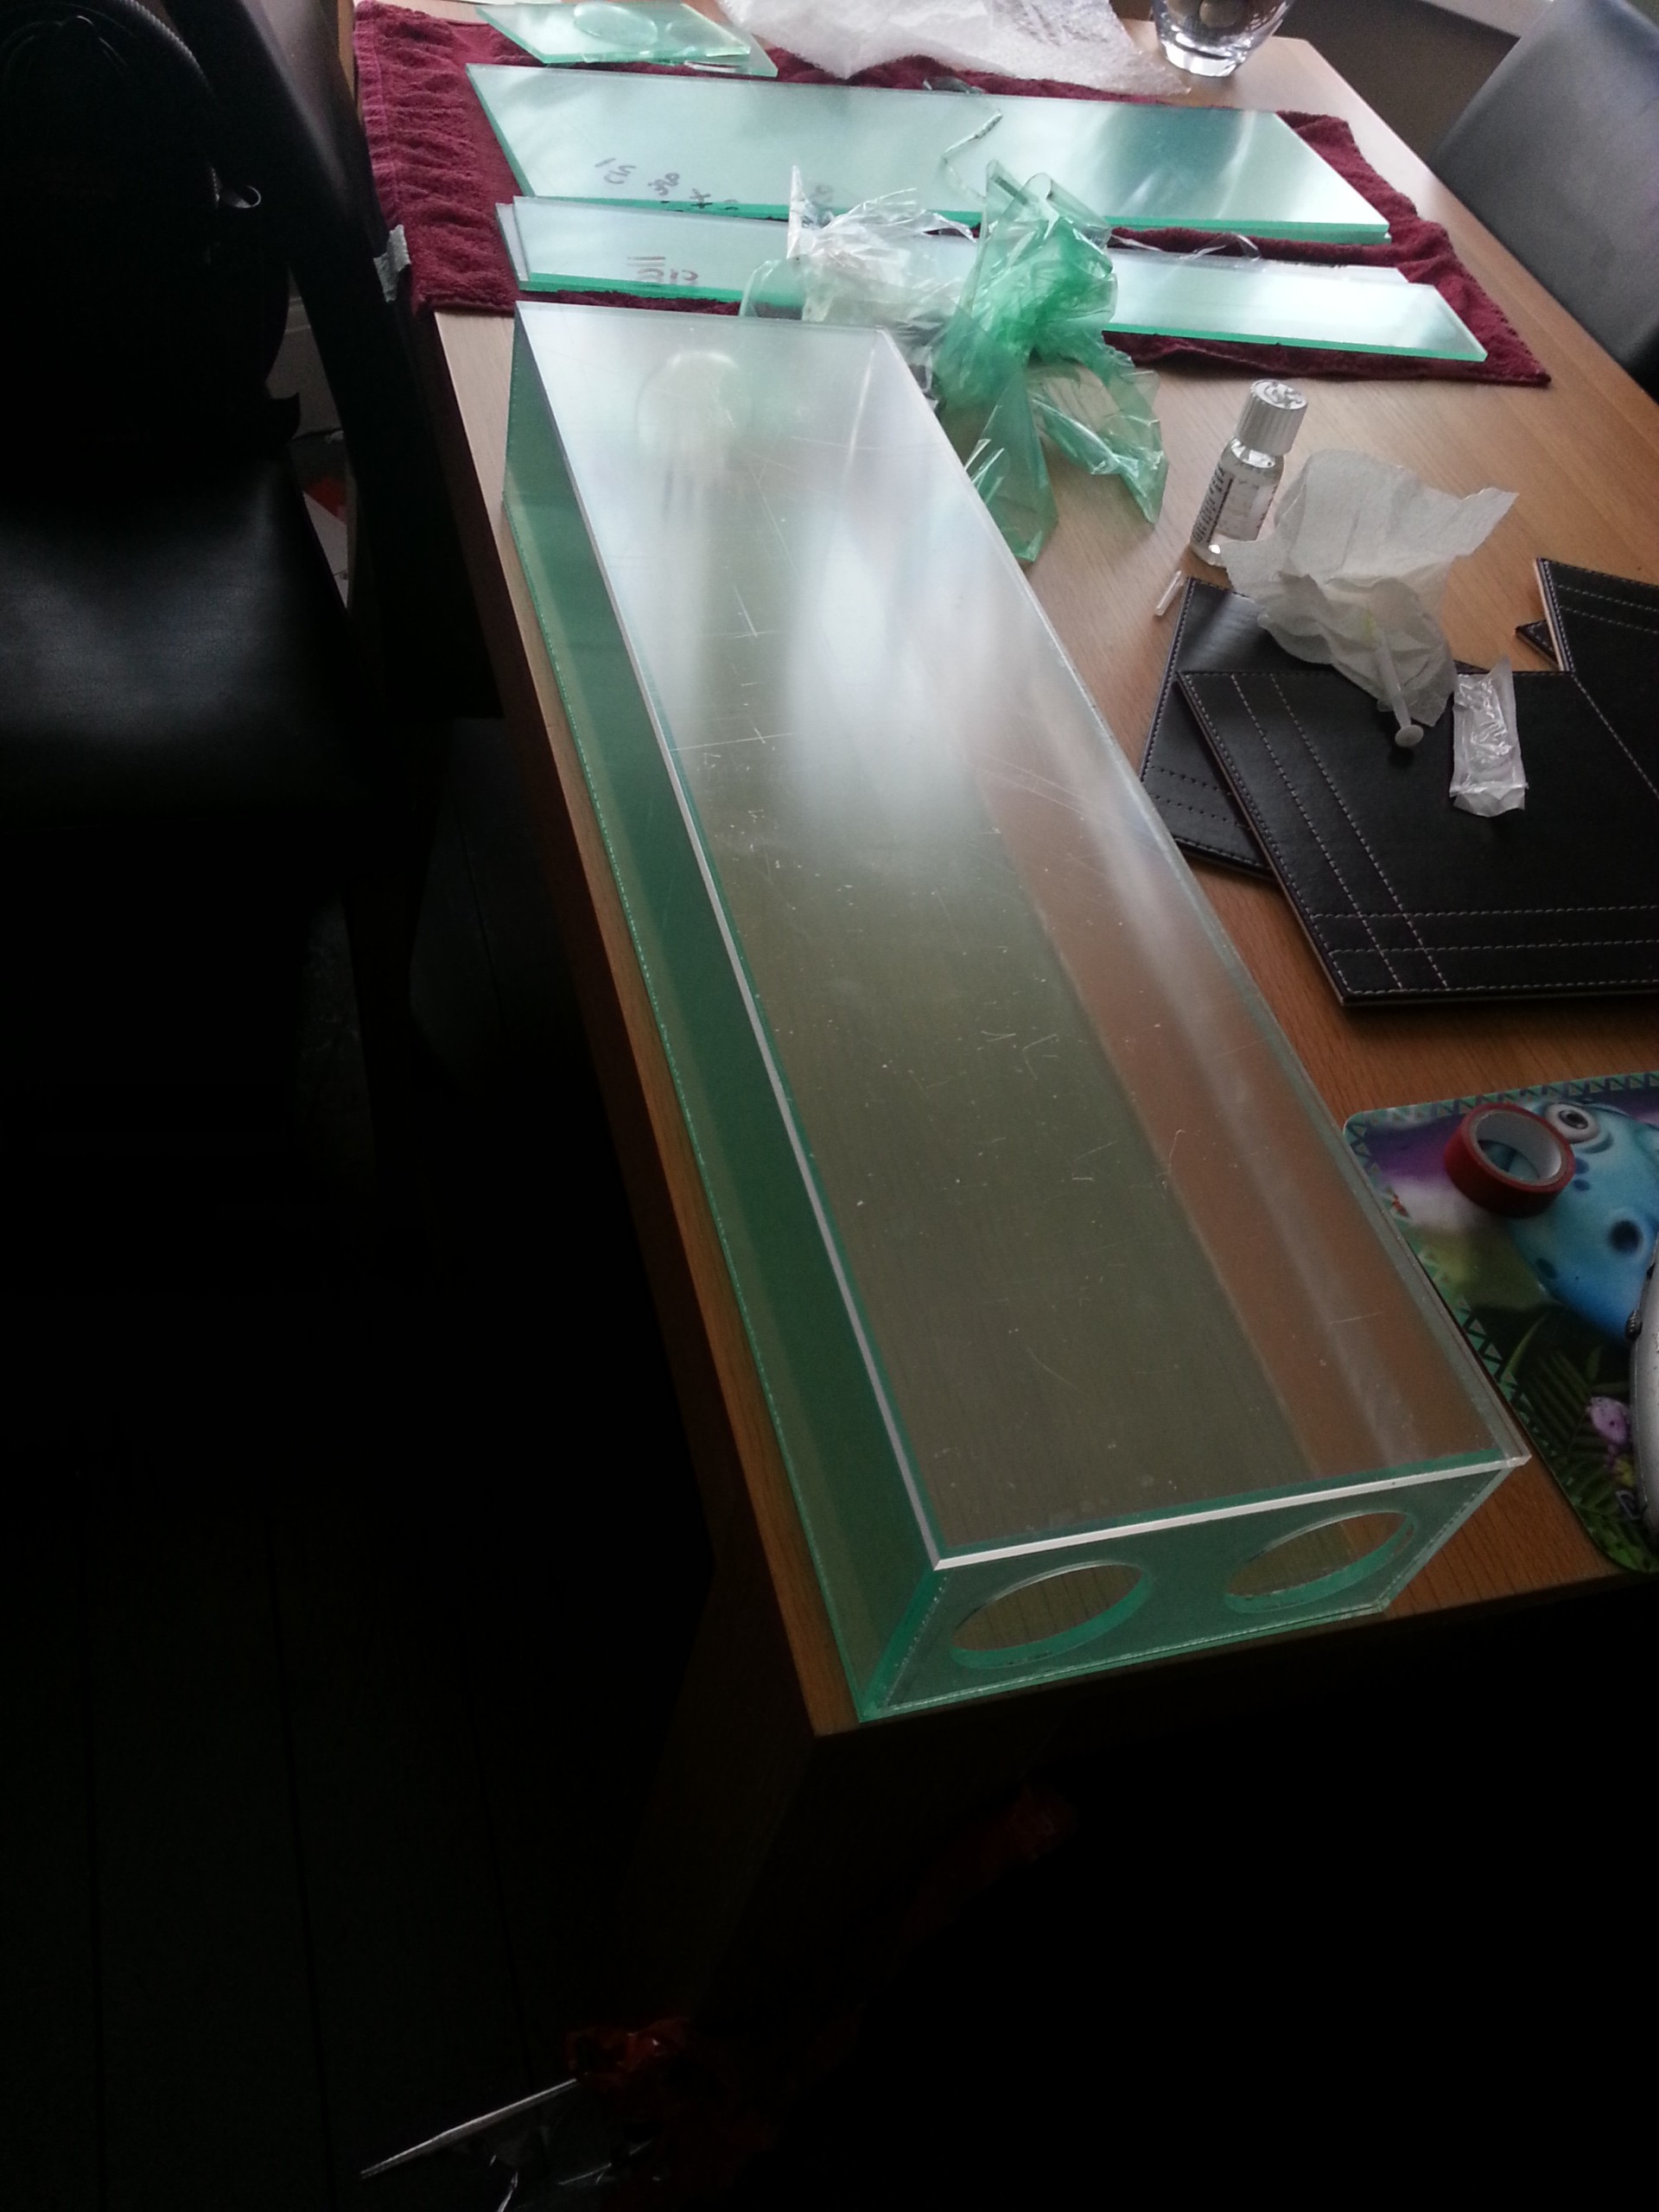
Once the insulating tape was removed I was left with something remarkably similar to the design!
The gallery below shows the stages of construction before moving the units back to the laboratory.
In the next blog post I’ll look back over the installation and first test assays using this dual choice olfactometer.
-
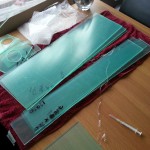
- If you could buy a flat-pack dual choice olfactometer this is what it might look like
-
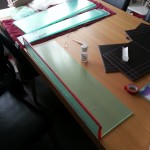
- The first side of the flight chamber being attached to the base
-
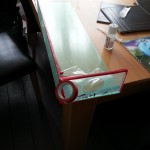
- Insulating tape is slightly elastic it is great for this as it can be pulled very tight and allowed to relax again; once relaxed the acrylic sheet is held securely but not deformed.
-
- Coming together nicely and the edges are all square
-
- Once the insulating tape was removed I was left with something remarkably similar to the design!
-
- The view from the other end showing the choice apertures
-
- Why build 1 when you make 2
-
- With first prototype sample chamber and trap chamber attached.
-
- In this image it can be seen that the trap/release chambers are interchangeable.